My Password Test
Friday, April 29, 2011
Wednesday, April 27, 2011
Saturday, March 13, 2010
Install Windows XP
Install Windows XP
1)Ensure that your computer meets the minimum system requirements to run Windows XP.
2)All versions of Windows XP CD are bootable. In order to boot from CD/DVD-ROM you need to set the boot sequence. Look for the boot sequence under your BIOS setup and make sure that the first boot device is set to CD/DVD-ROM. In most cases by pressing DEL on system startup and select your primary boot device cdrom.
Then
Insert the Windows XP Installation Disc and start your computer. When prompted to "Press any key to boot from CD," press a key on the keyboard.

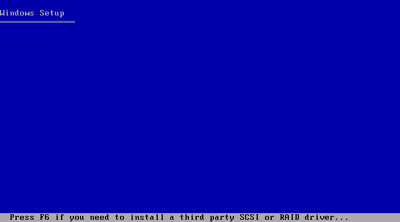
3)Press F6 to Install a Third Party Driver.
If you are using a an IDE Hard Drive then you do not need to press F6.
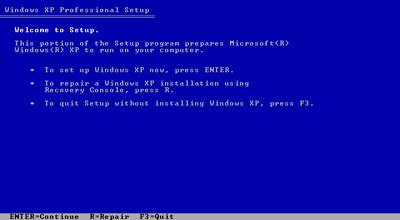
4)You will then get a Windows XP Professional Setup screen. You have the option to do a new Windows install, Repair previous install or quit.
Press ENTER to Setup Windows XP
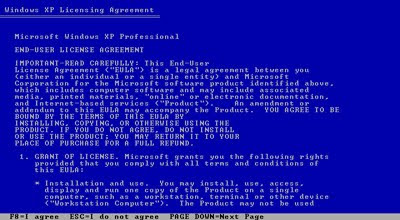
5)You will be presented with the End User Licensing Agreement.Read and Accept the Windows XP Licensing Agreement. Press F8 to accept and continue.
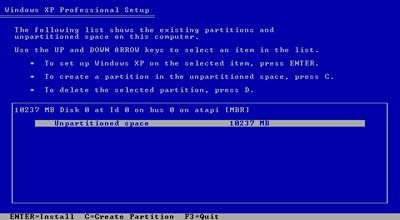
6)Create a Partition
you should see only one entry, Unpartitioned Space. Press C on your keyboard to begin creating partitions for the drive

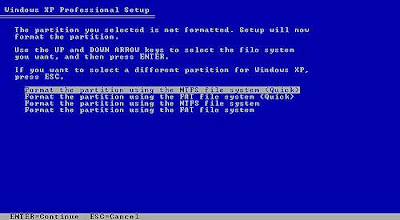
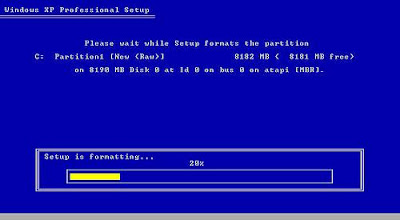
7)Format The Partition using NTFS File System
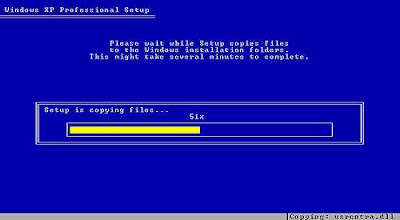
8)Please Wait while setup copies File
9)After That computer restart.
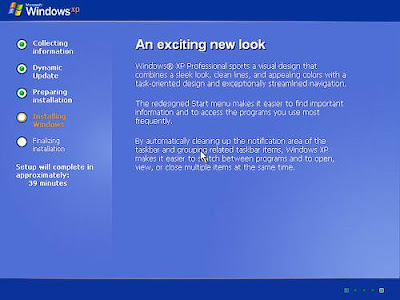
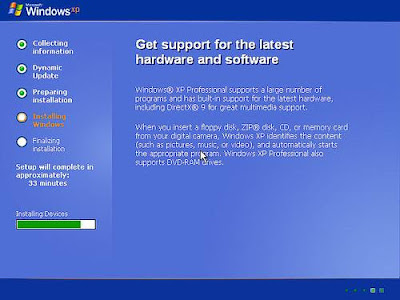
10)Windows XP Installation Begins
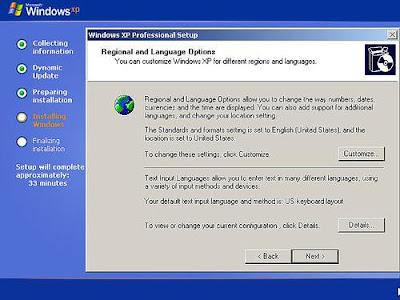
11)A dialog window will appear, asking you to choose your Regional settings.
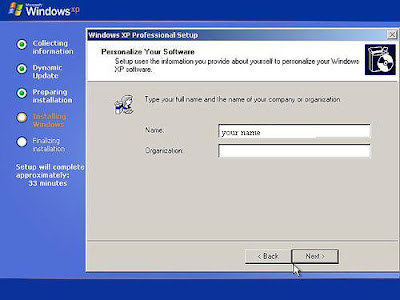
12)Then Enter Your Name and Organization
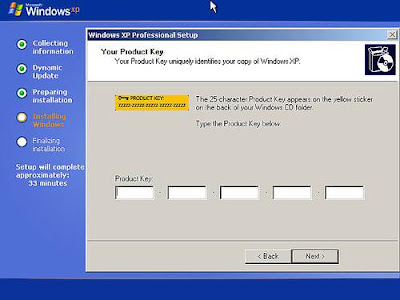
13)Enter your Product Key
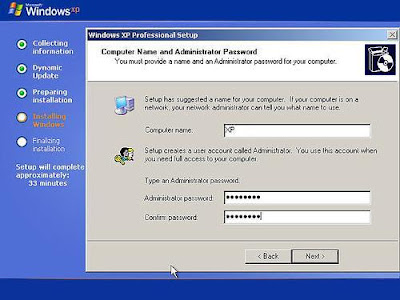
14)Enter a Computer Name and Administrator Password
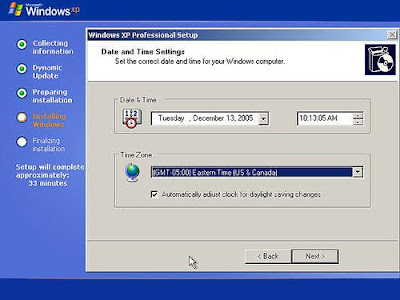
15)Set the Date and Time
16)Choose the Networking Settings.
Leave "Typical Settings" selected for Network Setup

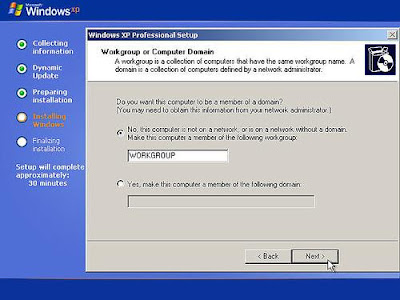
17)Enter a Workgroup or Domain Name
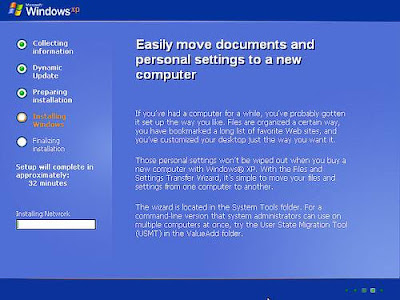
18)Setup will continue to install other devices and peripherals connected to your machine,then reboot.
19)Remove the CD from the drive.Wait for Restart and First Windows XP Boot.
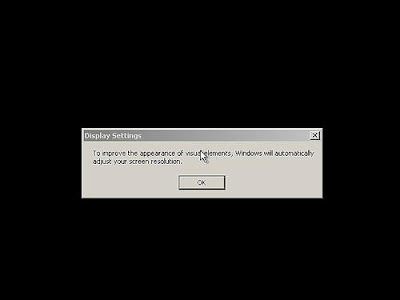
Upon Reboot, click Yes when you are informed Windows will be changing your visual settings to improve quality.
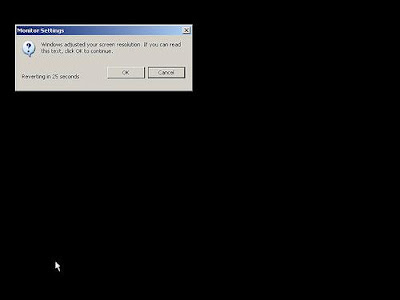
Click OK to allow Windows XP to automatically adjust the screen resolution
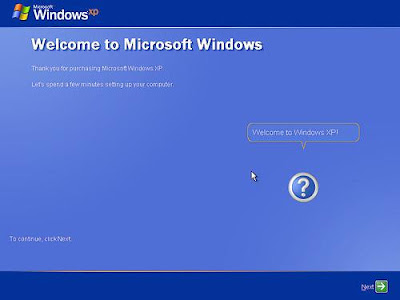
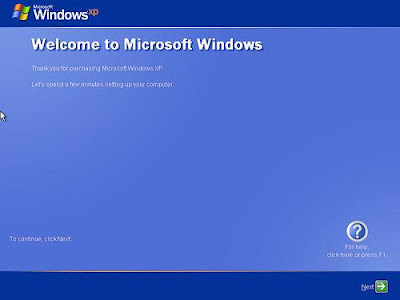
20)The Welcome to Microsoft Windows screen appears next
click on next
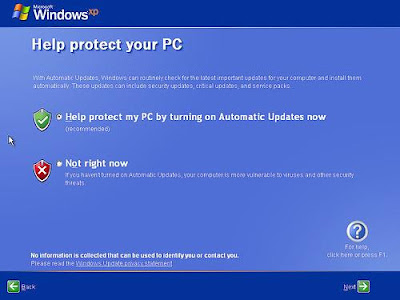
21)next>>
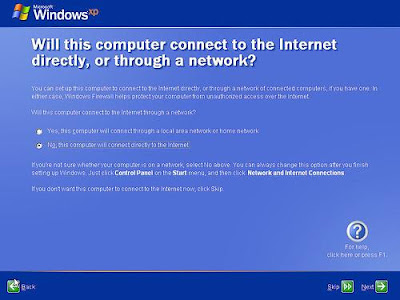
22)Next>>
23)If connected to the Internet, Select Activate Now.
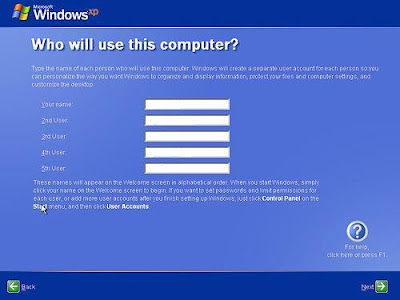
24)After the Activation Process, a window will appear allowing you to select the users for the computer.
25)Click Finish
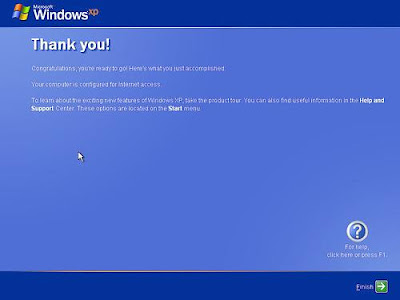
26)Congratulations!!!!
Windows XP Installation Complete
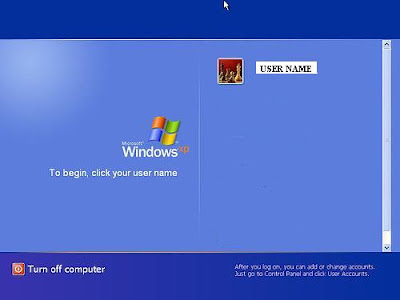
27)You will now be looking at the default Windows XP Desktop :-)


1)Ensure that your computer meets the minimum system requirements to run Windows XP.
2)All versions of Windows XP CD are bootable. In order to boot from CD/DVD-ROM you need to set the boot sequence. Look for the boot sequence under your BIOS setup and make sure that the first boot device is set to CD/DVD-ROM. In most cases by pressing DEL on system startup and select your primary boot device cdrom.
Then
Insert the Windows XP Installation Disc and start your computer. When prompted to "Press any key to boot from CD," press a key on the keyboard.

3)Press F6 to Install a Third Party Driver.
If you are using a an IDE Hard Drive then you do not need to press F6.

4)You will then get a Windows XP Professional Setup screen. You have the option to do a new Windows install, Repair previous install or quit.
Press ENTER to Setup Windows XP

5)You will be presented with the End User Licensing Agreement.Read and Accept the Windows XP Licensing Agreement. Press F8 to accept and continue.

6)Create a Partition
you should see only one entry, Unpartitioned Space. Press C on your keyboard to begin creating partitions for the drive


7)Format The Partition using NTFS File System


8)Please Wait while setup copies File

9)After That computer restart.

10)Windows XP Installation Begins


11)A dialog window will appear, asking you to choose your Regional settings.

12)Then Enter Your Name and Organization

13)Enter your Product Key

14)Enter a Computer Name and Administrator Password

15)Set the Date and Time

16)Choose the Networking Settings.
Leave "Typical Settings" selected for Network Setup

17)Enter a Workgroup or Domain Name

18)Setup will continue to install other devices and peripherals connected to your machine,then reboot.

19)Remove the CD from the drive.Wait for Restart and First Windows XP Boot.
Upon Reboot, click Yes when you are informed Windows will be changing your visual settings to improve quality.

Click OK to allow Windows XP to automatically adjust the screen resolution

20)The Welcome to Microsoft Windows screen appears next
click on next

21)next>>

22)Next>>

23)If connected to the Internet, Select Activate Now.

24)After the Activation Process, a window will appear allowing you to select the users for the computer.

25)Click Finish

26)Congratulations!!!!
Windows XP Installation Complete

27)You will now be looking at the default Windows XP Desktop :-)

How to Rename the Recycle Bin
How to Rename the Recycle Bin
To change the name of the Recycle Bin desktop icon, open Regedit and go to:
start>>Run>>Regedit
HKEY_CLASSES_ROOT/CLSID/{645FF040-5081-101B-9F08-00AA002F954E}
and change the name Recycle Bin to whatever you want.
To change the name of the Recycle Bin desktop icon, open Regedit and go to:
start>>Run>>Regedit
HKEY_CLASSES_ROOT/CLSID/{645FF040-5081-101B-9F08-00AA002F954E}
and change the name Recycle Bin to whatever you want.
Subscribe to:
Posts (Atom)